I am a pretty sentimental person. I keep things for a long time before I can let them go. Our Christmas Tree holds ornaments that Craig and I have collected over the years together. Gifts that have been given to us. Craig’s mother has been buying me a Pewter ornament for my tree for as long as I can remember. It’s a Christmas gift that I look forward to every year.
Piper’s school crafted ornaments are starting to make appearances on my tree and I love it. I have many more years of school crafted ornaments to look forward to. Someday, I plan to let the Divas have them for their own Christmas trees. We won’t talk about that though because thinking of those days makes me incredibly melancholy.
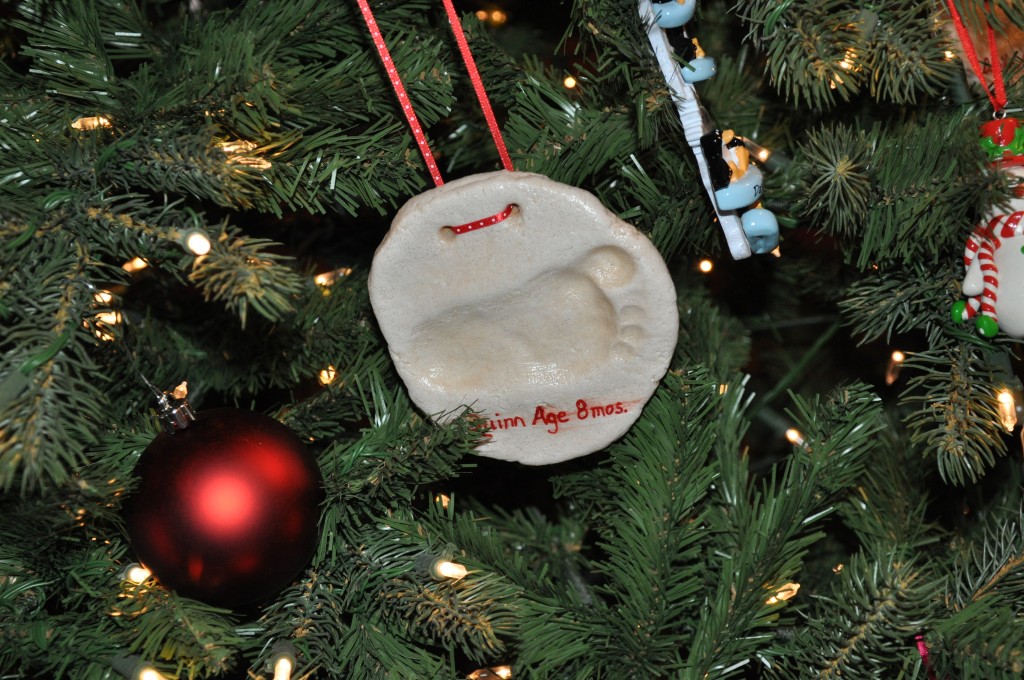
I even tried to set Piper’s foot print in an ornament one year with those casting kits you can buy. It never turned out. I was able to get this one this year though
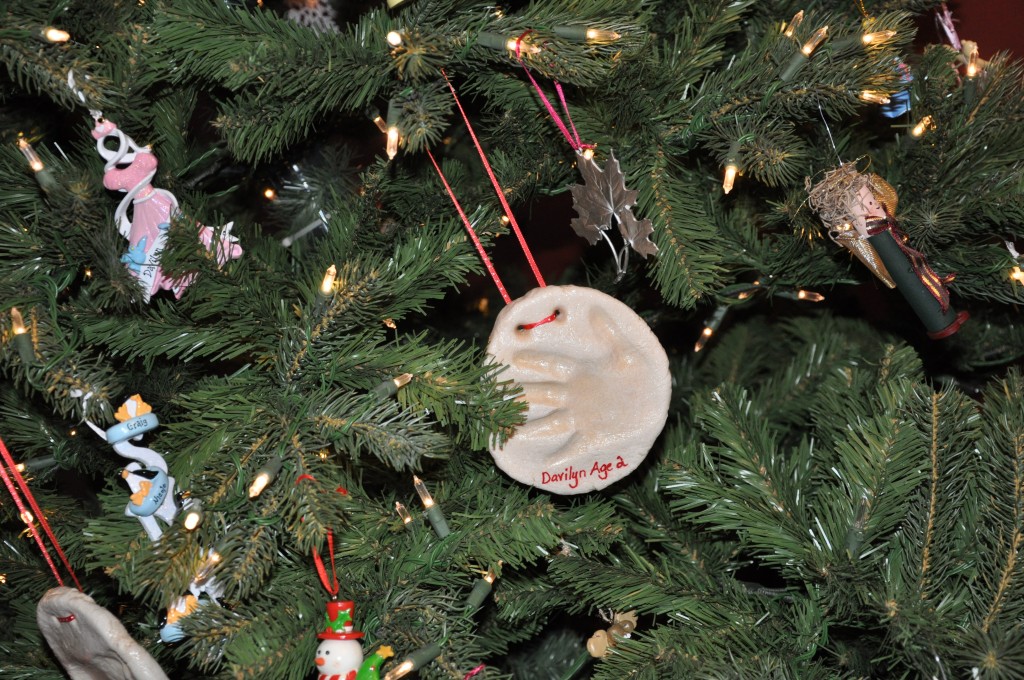
and this one
They all turned out wonderfully! I wish I had of thought of doing this on my own years ago! These are now hanging on my tree and have quickly become a few of my favourite ornaments.
Next year these hands will have grown and the tiny feet too.
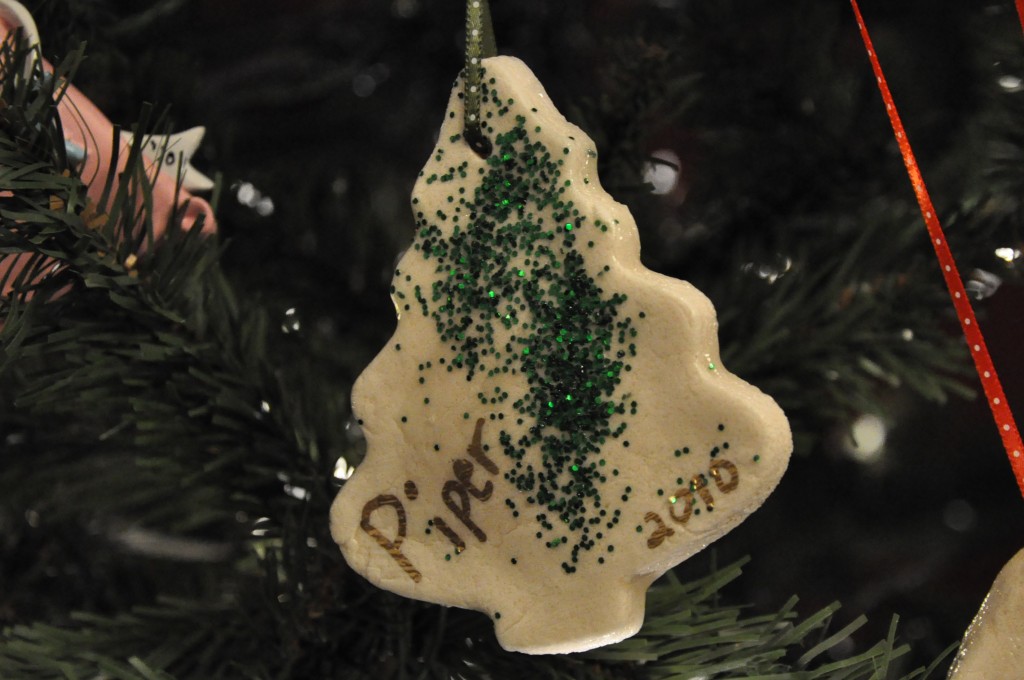
And because I didn’t think that I had enough on my plate, I made these
Piper is taking them to school to give to her friends. She helped me cut them out and spread some of the sprinkles. I love doing this kind of stuff for her and with her. She loves to give little treats to her friends.
The recipe for these is actually so simple! I can’t believe it took me this long to google it. Kind of like that play-doh I had always wanted to make. Super easy.
Here is what you do:
2 cups flour
1 cup salt
1 cup water
Knead dough (you may have to add a wee bit more water but not too much). I broke a bit off at at a time to roll out (otherwise I found that it would crack around the edges too much). For the hand print or footprint, shape into a circle big enough for the wee print (or not so wee) then press your child’s foot or hand down firmly. For the tree (or various other shapes) I used a cookie cutter. I bet snowflakes would turn out quite nicely. I need to find a nice snowflake cookie cutter. Poke a hole or holes through for the string/ribbon. It also works to use a small drill bit after it has been baked. Trust me, I’ve tried it both ways.
Then you bake them in your oven at about 225 F for about 3 hours (or more) depending on your oven and the thickness of the ornament. You want them to cook through and harden. I will confess that I let mine cook for over 4 hours (like maybe closer to 5) and it was pretty good time. They were also a bit thicker.
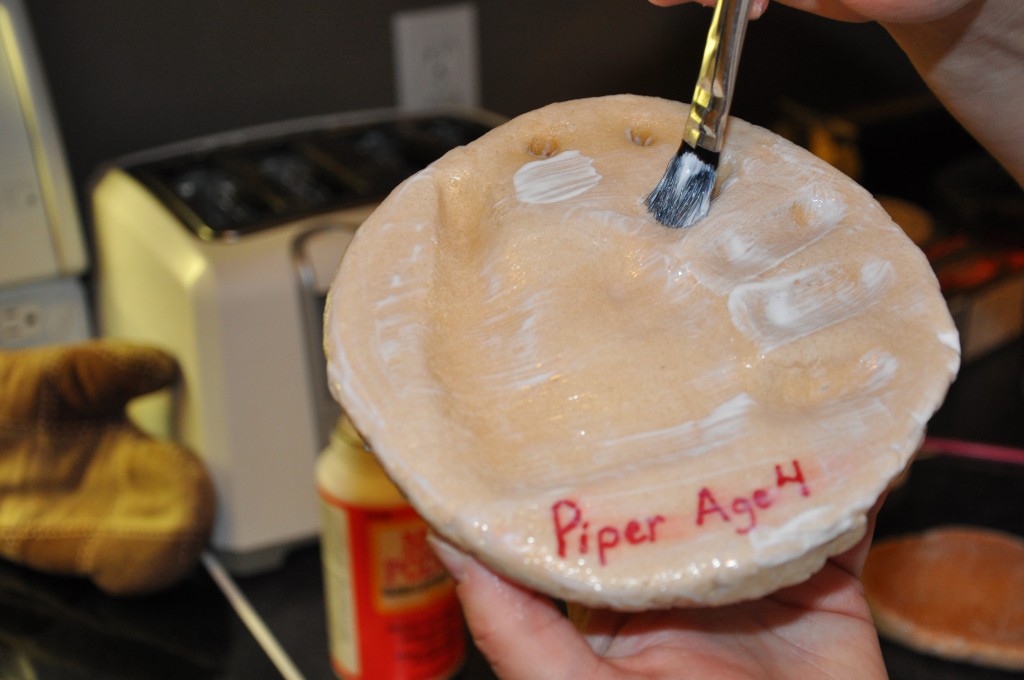
Once they have cooled, I then used a product called Mod Podge (which is a water base sealer, glue and finish) and painted that on to finish them off. I found it worked better to wait for that to dry and then write on it. With the trees, I put the Mod Podge on and then sprinkled the glitter on. Once it dried, I covered it again to seal the sprinkles in. It worked out nicely.
Easy peasy! Until you are doing about 17 of them for various friends… then it becomes a bit tedious but the praise from your children is worth it! Happy Crafting!


{ 2 comments }
cute ideas!!
What temp on the oven? Such a cute idea!!
Kat recently posted..Brothers
{ 1 trackback }