Just in time for Halloween (or maybe too early at this point). I made some this weekend. Both Piper and Davilyn have snack days coming up at school and, if time permits, I like to make them something fun to share.
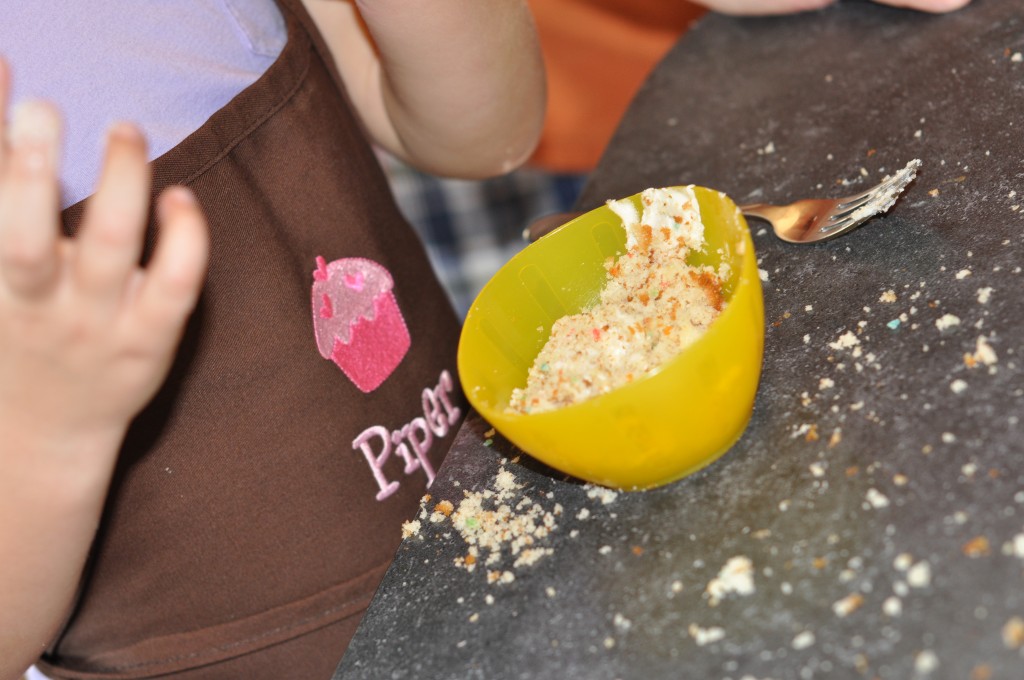
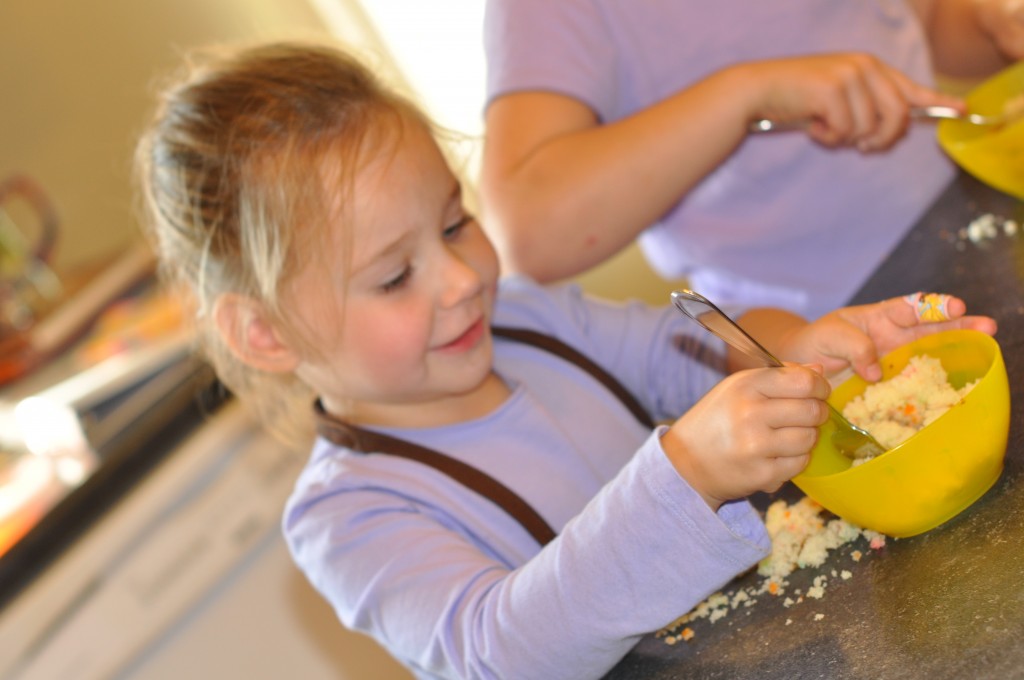
Cake Pops are surprisingly easy. I am no Martha Stewart. Nor am I a Starbucks. I’m not Bakerella either. I am just a Mom who simply likes to bake and likes to let her Divas help. Now, because most of the baking I do is for a purpose, like snack day or company, the Divas get their own little bowls and utensils to make their own treats.
Whatever they happen to touch is for them only. For good reason, I usually catch them licking their spoon and using it again. Or their fingers and touching the ingredients. It’s never-ending telling them not to do that, so I don’t even try. They love to help and I enjoy their company. The mess is worth it.
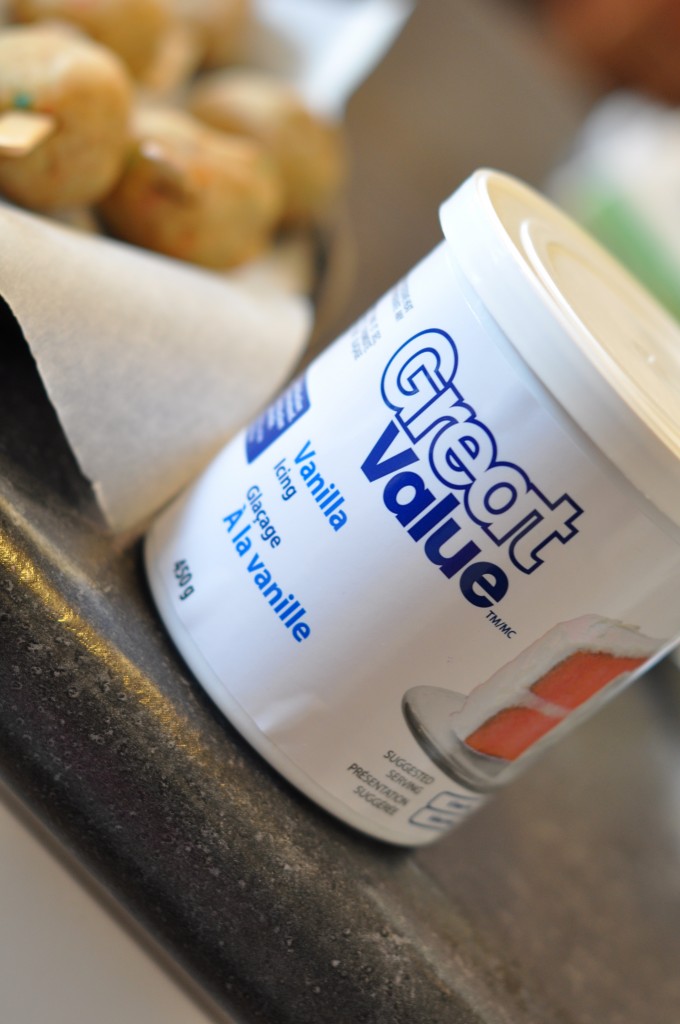
Right. Back to my Ghost Cake Pops. Easy! The day before I put two cakes in the oven (as per the baking instructions on the package). I doubled up because I was making enough for Piper’s class and Davi’s class. Once they are cooled completely, you can keep going. Crumble the cake into fine crumbles in a big bowl. Then mix in some icing. I just use store-bought vanilla icing. I used almost an entire small container. I just kept adding it until I thought that the balls would form and stay without crumbling. Then form your Cake Pops. The nice thing about Ghost Cake Pops is that they don’t have to be perfectly round (which is nice because I couldn’t get them perfectly round anyway).
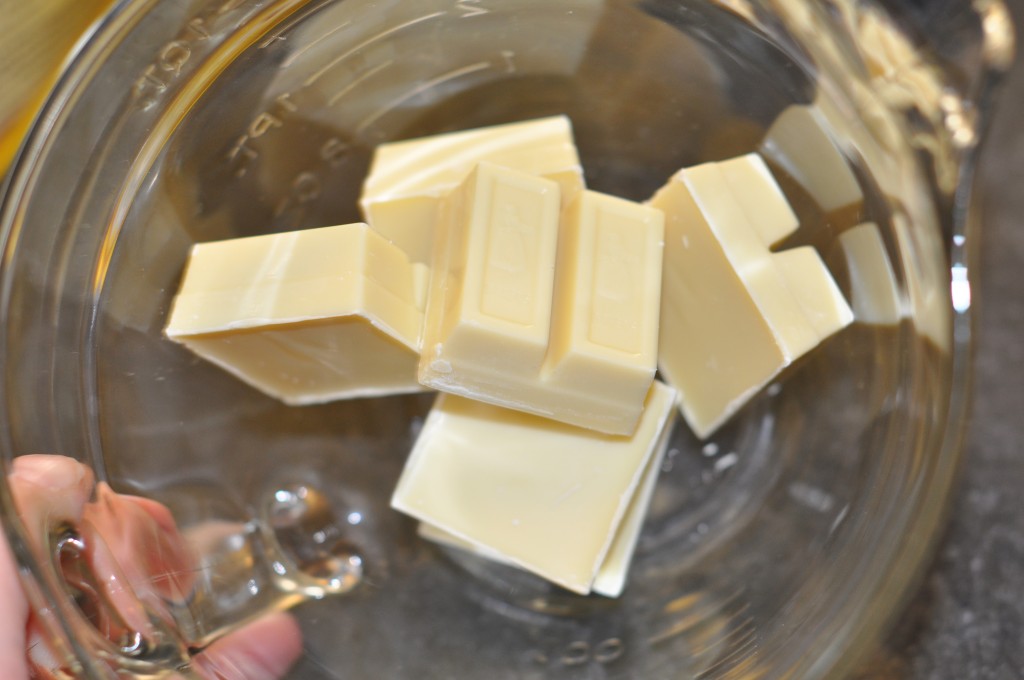
Once you have your Pops formed, put them on a baking sheet with parchment paper. Then let them freeze for about an hour. After an hour they are ready to be dipped. I used white bakers chocolate.
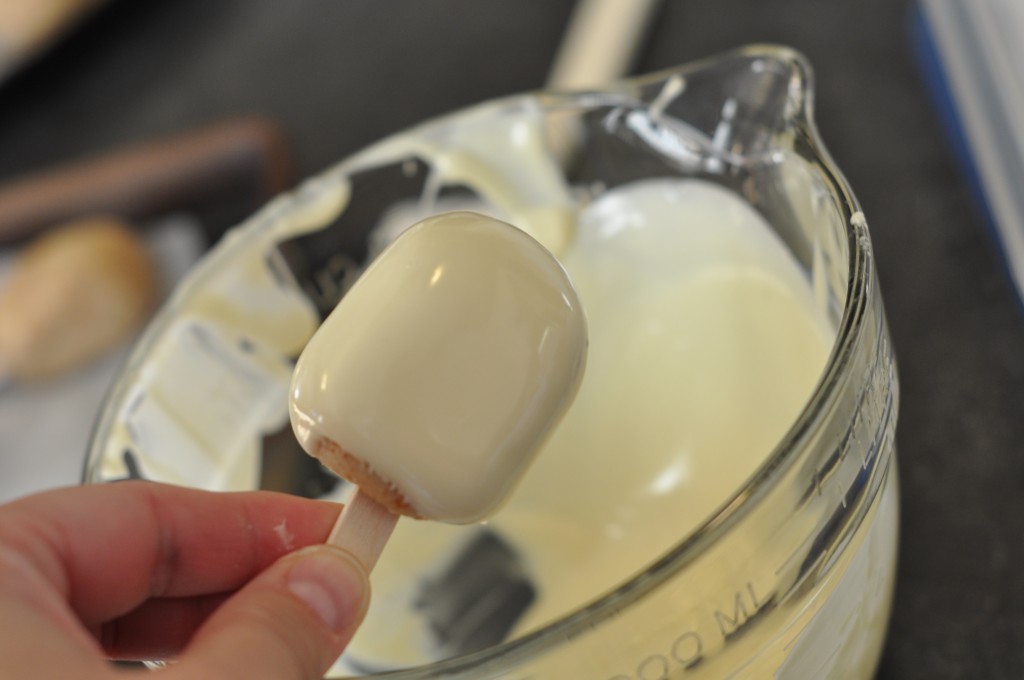
Melt the chocolate in the microwave and then start dipping your Pops. It looks nice when you can get the entire Pop coated in chocolate. It’s not always easy with little hands helping. The great thing about doing this with your kids is that they don’t really notice the imperfections!
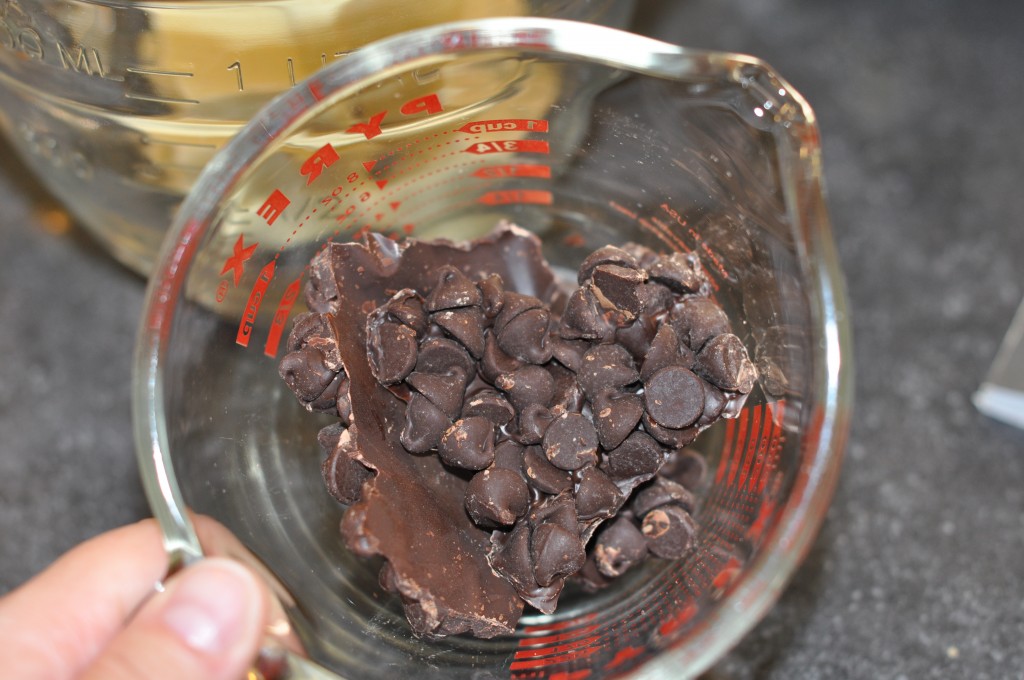
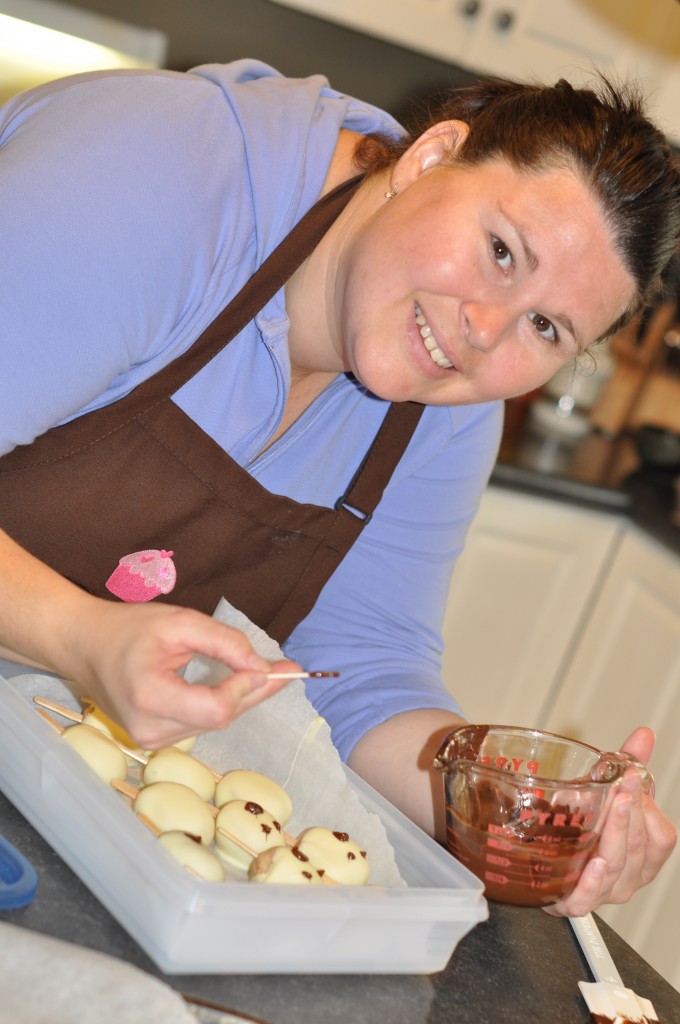
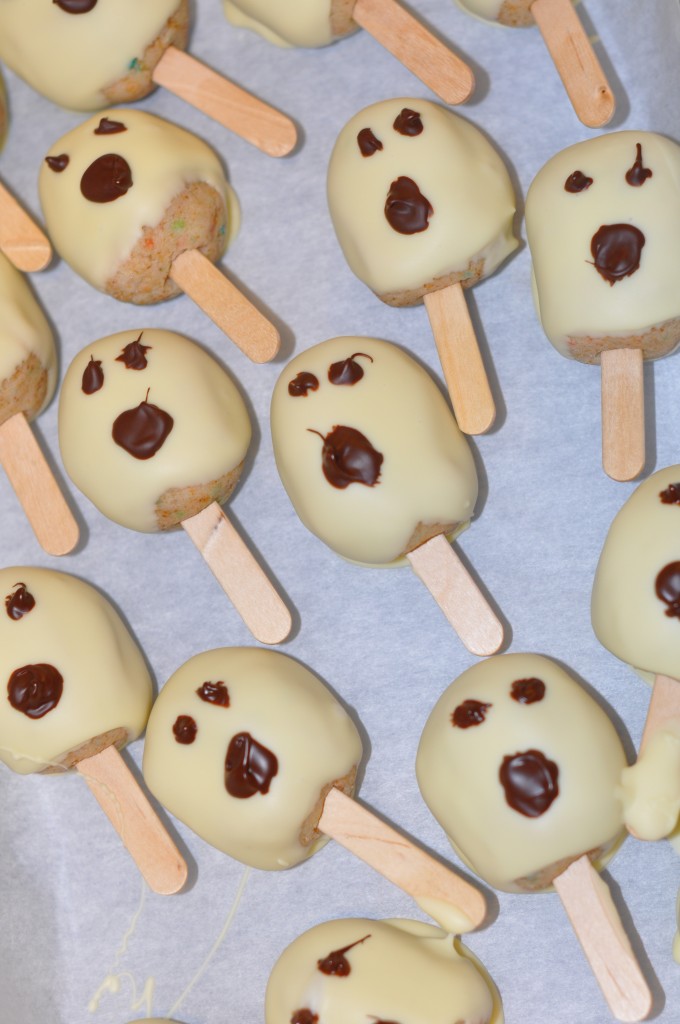
Let your Pops set until the chocolate is hard. I put them in the fridge for a bit. If you are putting sprinkles on them, you would want to do that before the chocolate sets. Once my chocolate set, I melted chocolate chips and used a toothpick to draw the faces on the Ghost Cake Pops.
It is a tedious process making the faces and I am always looking for short cuts but over all this was very simple to do. The eyes and mouth don’t have to be perfect. These are Halloween inspired Ghost Cake Pops, after all!
These are the finished product. I thought they were really cute and turned out well. The Divas loved the way they taste and our Nanny loved them too! That’s a good sign and all that matters. You can do these too! I am not kidding when I tell you how easy they are. There are all kinds of cool things you can do with this recipe. Just hit Google and see what’s out there.



{ 2 comments }
These are so cute! Love the popsicle stick too… easier for little hands to hold. I bet all of the littles loved them!
Heather they are so easy! It’s great that you can do it in steps too.
Rumour Miller recently posted..Ghost Cake Pops